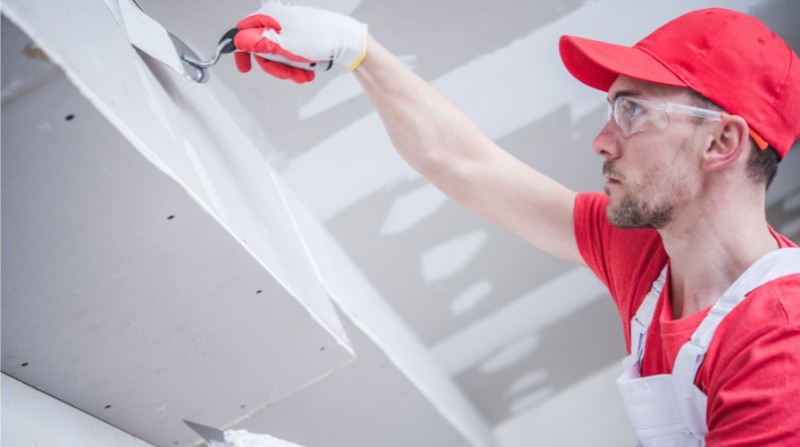
As a property owner or manager, dealing with drywall damage is an inevitable part of maintaining your rental property. Whether it’s small nail holes from pictures or larger damage from accidental impacts, knowing how to properly repair drywall can save you time and money between tenants.
This comprehensive guide will walk you through the most common types of drywall damage and provide step-by-step instructions for professional-quality repairs that will keep your property looking its best.
Common Types of Drywall Damage in Rentals
- Small Holes (Nails, Screws, or Picture Hooks)
- Medium Holes (Doorknob Impacts or Fist-Sized Damage)
- Large Holes (Furniture Damage or Wall Penetrations)
- Cracks (Settling or Temperature Changes)
- Dents and Scrapes (Moving Damage or Tenant Wear)
Step-by-Step Drywall Repair Guide
-
Small Hole Repairs (Under ½ Inch)
Materials Needed:
- Spackling compound
- Putty knife
- Sandpaper (120-150 grit)
Steps:
- Clean the hole of any debris
- Apply spackle with a putty knife, slightly overfilling
- Let dry completely (usually 2-4 hours)
- Sand smooth with fine-grit sandpaper
- Wipe clean with a damp cloth
- Prime and paint to match the surrounding area
Pro Tip: For screw holes, first insert a drywall anchor to provide backing before filling.
-
Medium Hole Repairs (½ Inch to 4 Inches)
Materials Needed:
- Drywall patch kit or mesh tape
- Joint compound
- 6″ drywall knife
- Sanding block
Steps:
- Clean the edges of the hole
- Apply self-adhesive mesh patch or install backing strips
- Apply a thin layer of joint compound over the patch
- Let dry, then apply a second coat extending 2″ beyond the first
- Sand smooth when fully dry
- Prime and paint
-
Large Hole Repairs (Over 4 Inches)
Materials Needed:
- Replacement drywall piece
- Drywall screws
- Wood backing strips
- Joint tape and compound
Steps:
- Cut a clean square/rectangle around damage
- Install wood backing inside the wall
- Cut new drywall to fit opening
- Secure with drywall screws
- Tape seams and apply 3 coats of compound
- Sand between coats for a smooth finish
- Prime and paint entire wall section
Professional Tips for Rental Property Repairs
- Always Use Primer
- Helps paint adhere and prevents “flashing” (visible repair spots)
- Match Texture
- Use spray texture products to blend with existing wall finishes
- Keep Paint Records
- Maintain a log of paint colors used in each unit
- Document Damage
- Photograph before repairs for tenant security deposit purposes
- Consider Preventative Measures
- Install door stops and corner guards in high-traffic areas
When to Call a Professional
While many drywall repairs are DIY-friendly, consider hiring a professional for:
- Water-damaged drywall (may indicate larger issues)
- Ceiling repairs (especially textured ceilings)
- Repairs requiring electrical or plumbing access
- When matching complex wall textures
How Greater Boston Property Management Can Help
At Greater Boston Property Management, we handle all aspects of property maintenance, including:
- Coordinating repairs between tenants
- Maintaining a network of trusted contractors
- Managing preventative maintenance programs
- Handling damage documentation and security deposit reconciliations
Our team ensures your property remains in top condition while maximizing your investment returns.
Save time and money on rental property maintenance! Contact Greater Boston Property Management today and learn how we can simplify property ownership for you!

